

When it comes to your bathroom, the floor is one of the most important aspects. Floors are where we walk, sit, and take a shower. They must be durable, maintainable, and stylish. One of the best ways to accomplish all three is with tile. Tile also has two major benefits: it’s affordable and customizable. It can also be drilled bathroom tile installed in any size or shape imaginable. This article will cover some helpful tips on how to install bathroom tiles that you can use at home.>>END>>
Choose the right tile
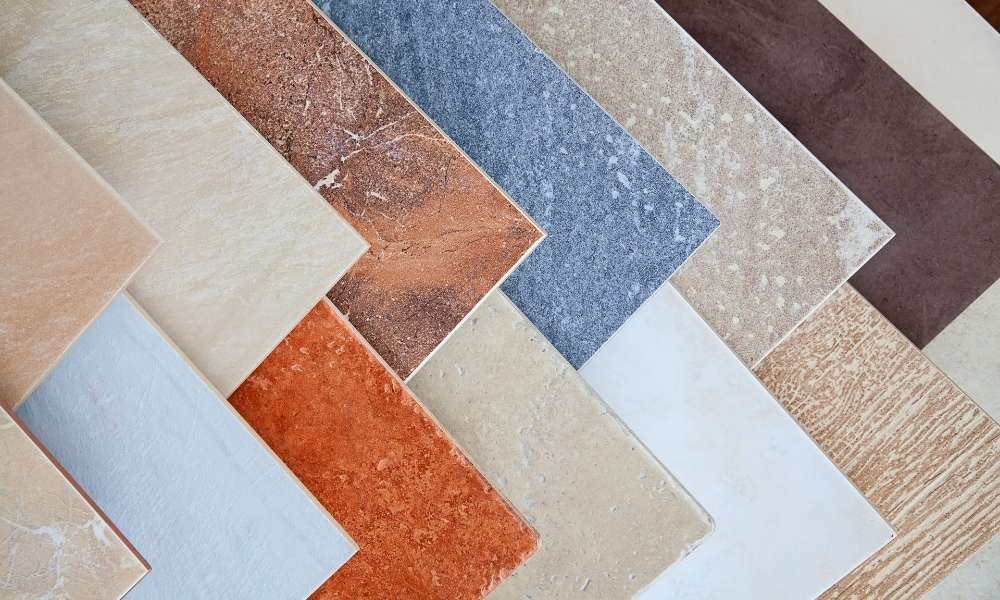
A tile is a great option for floors because it’s durable and maintainable. When choosing tile, consider the size and shape of your bathroom. For example, if you have a small space like a shower or tub, you’ll need to use smaller tiles to properly cover the space. If your space is larger, you’ll be able to use larger tiles.
For durability, make sure that the grout lines are even and straight. Avoid using frosted glass on floors since it can be slippery when wet. Textured flooring tiles may be an alternative if you’re looking for something different.>>END>>
How to Drill bathroom tiles
To install new tile, you’ll need to drill holes into the subfloor. When you’re drilling holes, it’s important to follow these three rules:
1. Drill from the top of the tile towards the bottom to avoid cracking or chipping
2. Drill as deep as you can into the subfloor
3. Make sure your drill is perpendicular to the baseboard
Fortunately, there are tools designed specifically for this task that make it much easier and less frustrating. A carbide-tipped drill bit will cut through very hard materials like stone and concrete with ease. It won’t clog up and wear down like a regular drill bit will over time. This tool also has a hammer mechanism so it doesn’t have to be manually hammered in as other bits require.
Drill Bits: Carbide tipped drills are designed for drilling holes in hard surfaces such as marble, granite, concrete, and stone
A drill bit should be used on a high-speed setting so that it does not get clogged or wear down quickly when drilling through difficult materials (such as porcelain tiles). The best way to avoid this problem is by using a carbide-tipped drill bit.
Tools you’ll need
The tools needed will depend on the type of tile you’re installing. For basic ceramic tile that requires minimal installation, you’ll need a hammer, utility knife, straight edge, level, and rotozip. Other tools for different types of tiles include a saw and grout mixing machine. If you’re installing any type of backsplash or flooring along with your tile, you’ll also need to get the appropriate installation tools.
Preparing your floor
Before you can lay your tile, you’ll need to properly prepare your floor.
– If there’s a current floor covering, like carpeting, remove it.
– If there’s an underlayment on top of the subfloor (like plywood), remove it too.
– Clean the surface with a wet vacuum and damp mop to remove any dust or debris. This will also make the installation process go faster.
Make sure everything is straight and level
When you’re installing tile in your bathroom, it’s important that everything is straight and level. If your floor isn’t level, the tiles will be uneven. Even if you try to put them on straight, they may not lay flat. This is why it’s important to make sure the floor is level before starting the installation process. There are a few different ways to do this. One way is to use a laser level or bubble level for an accurate reading of how straight your floor is. Another way to tell if your floor is level is by using a carpenter’s level or another similar tool that indicates when something is touching both sides evenly and horizontally.
If your floor was uneven, you can also use a saw with a tile cutting blade or concrete saw to cut off any excess from the top of the flooring so that it’s even with the rest of the room. This should fix any issues with unevenness and leave your installation process with completely leveled floors.>>END>>
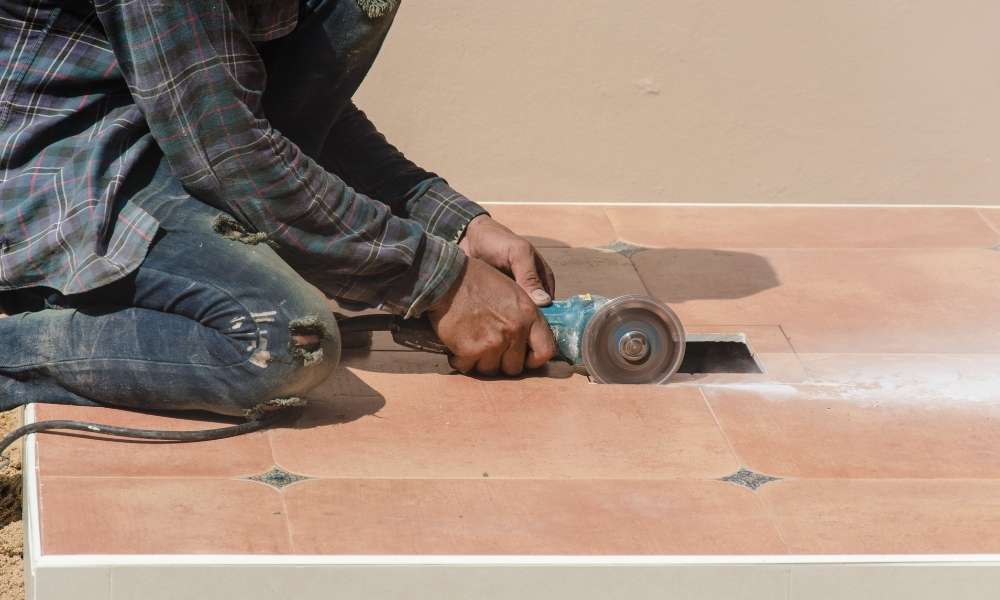
Cutting tiles
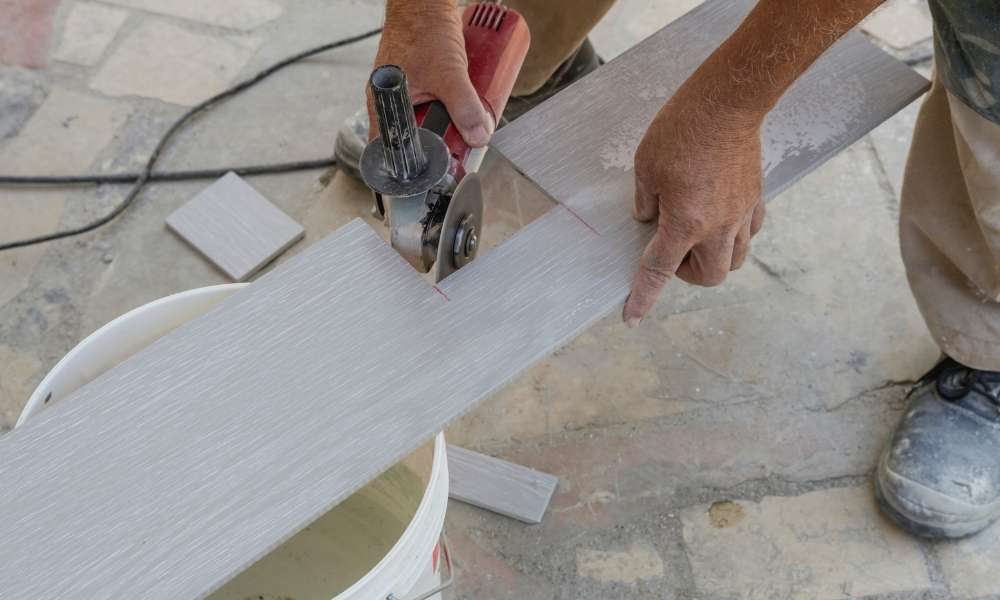
Start by cutting your tile to size. Your tiles should measure about 1/4 inch less than the depth of the installation area so it’s flush with the wall. For example, if your floor is 10 inches deep, you should cut your tile to 9 3/4 inches. This will help prevent the tiles from sticking out from the wall and creating a trip hazard.
You can use any type of saw or tile nippers to cut your tiles as long as they are strong enough and sharp enough to cut through the material. Make sure you lay down plenty of cardboard or another protective sheet on top of your flooring before you start cutting so that you don’t scratch or damage it in any way.>>END>>
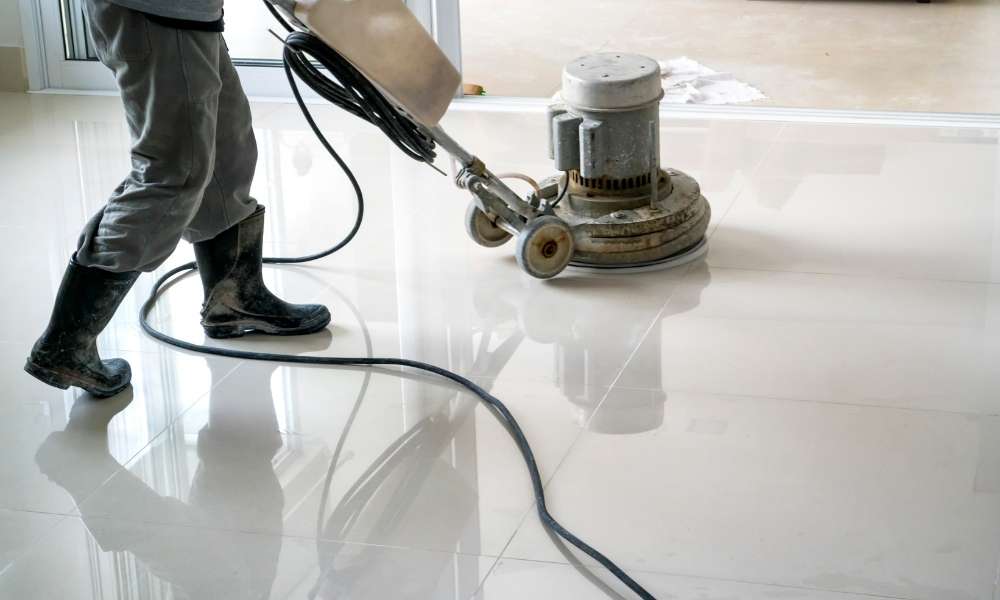
Installing the tiles
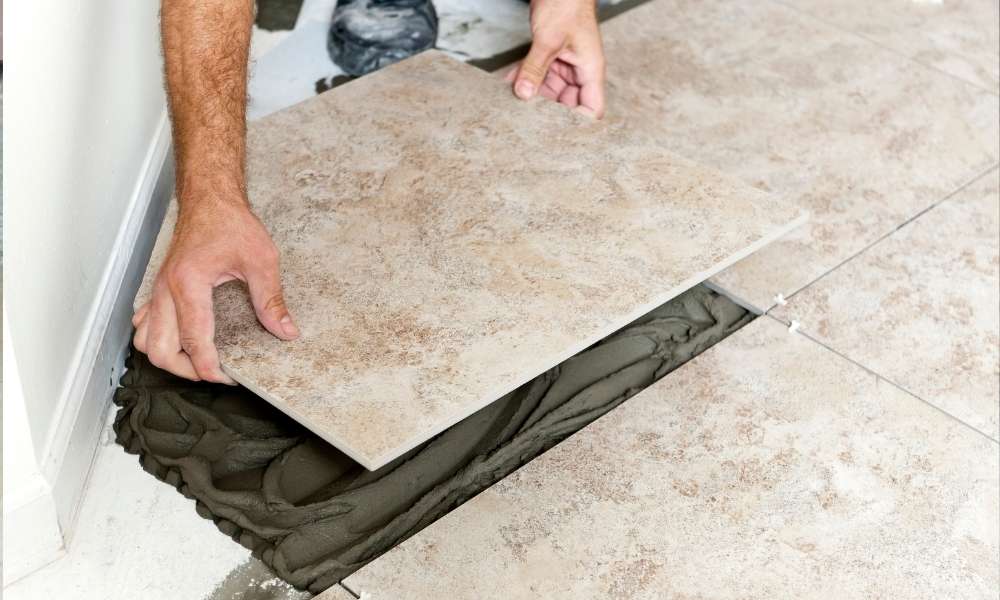
The first step in installing tile is to clean the area. This can be done with a cleaner like Tilex or a scrub brush and soapy water. Next, you can start laying the tiles. To do this, make sure that the back of each tile is facing up, which will allow for an even installation process.
To get started layout your tiles in a pattern. There are two major types of patterns: brick and staggered stack. Brick patterns are even rows of tiles that do not overlap, while staggered stack patterns have uneven rows and some overlapping edges. The second method will require more cutting but saves on your material costs.
Once you’ve chosen the pattern you would like to use, measure the width and length of your room to determine how many tiles you’ll need to buy. You will also want to measure the area where your walls meet flooring so that there are no overlapping or gaps between tiles when it comes to corners.
Next, get all of your materials ready — grab a level, power drill with ceramic or glass drill bits, tiling adhesive, grout mix (if necessary), and liquid grout sealer (optional). The adhesive is what holds everything together while the liquid grout sealer keeps moisture from seeping through any unsealed cracks.
You should also prepare by washing off your hands with soap and water before starting as well as wearing gloves for protection against any chemicals used during installation.>>END>>
What to do if the tile is not flat
If the tile isn’t flat, you can use a few different tools to fix it. You can either use a metal straight edge or some type of leveling liquid. It’s best to start from the center and work your way out. Make sure you don’t over-saturate the area as it will make it worse.
Why tile is the perfect solution for your bathroom
Tile is the perfect solution for your bathroom because it’s durable and maintainable. Tile will hold up to your traffic, even if you have kids or pets. It is a good idea to tile the floor in your bathroom so that it doesn’t get worn down from use.
Tile also has two major benefits: affordability and customization. You can find a wide variety of tiles at any price point and in any size or shape imaginable. If you want to make your kitchen look like a Roman villa, there are tiling options for that! Additionally, tile is easier to clean than carpeting or other types of flooring. You don’t have to worry as much about spills with tile because they’re easy to mop up.
So if you’re planning on renovating your bathroom soon, install tile today!
Conclusion
Tiles are a great way to add style and personality to your bathroom. A tile backsplash around the sink or a patterned tile on the floor can make your bathroom feel like a new space. But if you’re not sure how to Drill bathroom title don’t worry!
We’ve put together this step-by-step guide for how to drill bathroom tili and it covers everything from preparing your floor to the actual drilling process. With this guide, you’ll be able to install beautiful tile in your bathroom in no time.


