
Have you ever looked at a blank wall and felt the urge to add a touch of creativity but were unsure where to start? Painting curved stripes on a wall can transform a plain surface into an artistic focal point, adding depth and visual interest to any room. While straight lines may seem easier to tackle, mastering the art of painting curved stripes can elevate your interior design game to the next level. In this guide, we will explore the techniques and tips needed to paint curved stripes On a wall, turning your living space into a canvas waiting for your personal touch.
Tools and Materials Needed
- Painter’s tape
- Level
- Measuring tape
- Pencil
- Paintbrushes
- Roller brush
- Drop cloths
- Ladder
01. Preparing the Wall
Before you begin painting, it’s crucial to ensure your wall is ready to serve as your canvas. Start by cleaning the wall with a damp cloth to remove any dust, dirt, or grease. This step is essential for achieving a smooth finish and ensuring the paint adheres properly. Once the wall is dry, apply a coat of primer if you’re working with a dark or vibrant base color. This will help your new colors stand out more vividly and provide an even surface for painting. Allow the primer to dry completely according to the manufacturer’s recommendations before moving on to the next step.
02. Marking and Measuring
With your wall prepped and ready, the next step involves carefully marking and measuring the stripes. Decide on the width and flow of your curved stripes. Using a pencil and a level, lightly sketch the outline of your stripes on the wall. For a seamless curve, consider using a flexible object like a thin piece of wood or string to guide your drawing. Keep a measuring tape handy to ensure that the spacing between each stripe remains consistent throughout the pattern. This step requires patience and precision, paint curved stripes On a wall as the accuracy of your markings will significantly impact the final result.
03. Taping the Edges
Once you’re satisfied with your sketched stripes, it’s time to define them with painter’s tape. Carefully apply the tape along the edges of your pencil markings. The tape not only serves as a barrier to achieving crisp lines but also helps in visualizing the final look before the painting begins. Ensure that the tape is firmly pressed down to prevent any paint from seeping underneath. For particularly intricate curves, use smaller pieces of tape to maintain the integrity of your design.
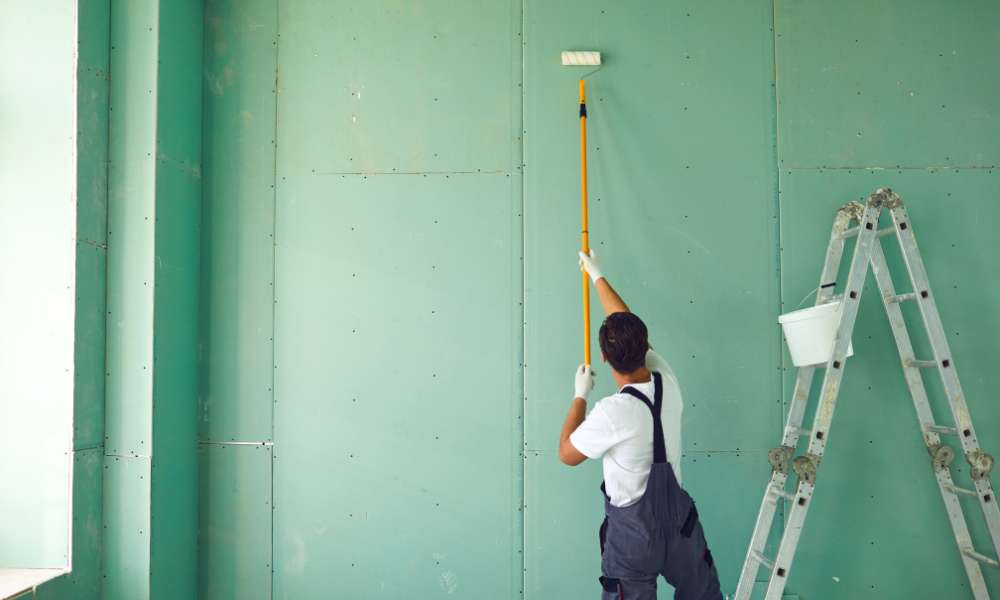
04. Painting the Stripes
One of the simplest yet most effective ways to add visual interest to a room is by paint stripes on a wall. Select the paint colors you wish to use for your stripes. If you’re working with multiple colors, decide on their placement ahead of time to avoid confusion. Using a paintbrush or roller, begin painting within the taped-off sections. For best results, start from the top and work your way down, applying the paint in thin, even coats. Depending on the paint’s opacity, you may need to apply multiple coats to achieve the desired vibrancy. Allow sufficient drying time between coats, following the paint manufacturer’s instructions.
05. Touch-Ups and Finishing
Even after removing the painter’s tape, you might see imperfections along the stripes’ curves or edges. Use a small artist’s brush for touch-ups. Dip it in paint and gently correct any spots, blending the edges seamlessly. Take your time to ensure each stripe meets your perfection standard. Step back, and review from different angles and lighting to catch missed inconsistencies. Once satisfied, clean up tools and materials for a tidy space. Your room now boasts fresh, dynamic curved stripes reflecting your style and creativity.
06. Inspiration and Variations
Exploring various patterns and color combinations can elevate your curved stripes. Feel free to play around with gradients, transitioning between colors for a visually striking effect. Experiment with stripe widths, mixing thick and thin stripes for a contemporary touch. If you prefer a more subtle look, opt for a monochromatic palette with varying shades of the same color to add depth and elegance to your space. The design possibilities are endless, allowing you to tailor the look to suit your unique style and home décor. Remember, achieving a stunning result requires thoughtful planning, precise execution, and the willingness to explore different concepts.
Tips for Paint Curved Stripes On A Wall
- Use a primer: Prime your wall to ensure an even coat and prevent bleeding of the stripe color.
- Work slowly: Apply the first coat of paint, and only when it’s dry, then apply a second coat for richer color.
- Quality paint matters: Higher-quality paints tend to cover better, so you may not need as many coats.
- Avoid heavy tape pressure: Only gently press the tape to the wall; heavy pressure can cause the tape to leave a residue or strip the wall paint when removed.
Conclusion,
By following the steps outlined in this article, you can achieve a professional-looking finish that will enhance the visual appeal of any room. Remember to measure and mark your curves carefully, use high-quality painter’s tape, and take your time during the painting process to ensure clean lines. Practice and experimentation may be necessary to perfect your technique, but with dedication, you can create a unique and stylish design element in your space. Start practicing these techniques today to elevate the look of your walls with beautifully painted curved stripes.


