

As a homeowner, you are faced with a lot of responsibilities. For instance, you have to make sure your home is well maintained. This means making repairs and also replacing some fixtures that have worn out. One such fixture is the bathroom sink stopper. Over time, the stopper can become worn out and unable to do its job.
Here are some tips for removing old bathroom sink stoppers and installing new ones.
How Do You Know if Your Stopper Needs Replacing
A few signs indicate it may be time to replace your stopper.
If the sink is slow to drain or water is coming from the overflow hole, then your clog may be caused by an ill-fitting stopper.
Additionally, if your stopper doesn’t seal tightly, there’s a good chance you need to replace it. You’ll know this because water will continuously leak underneath the stopper.
When you see any of these signs, you should contact a professional for assistance. They can help you remove and install your new sink stopper so that your bathroom can safely be used once again.
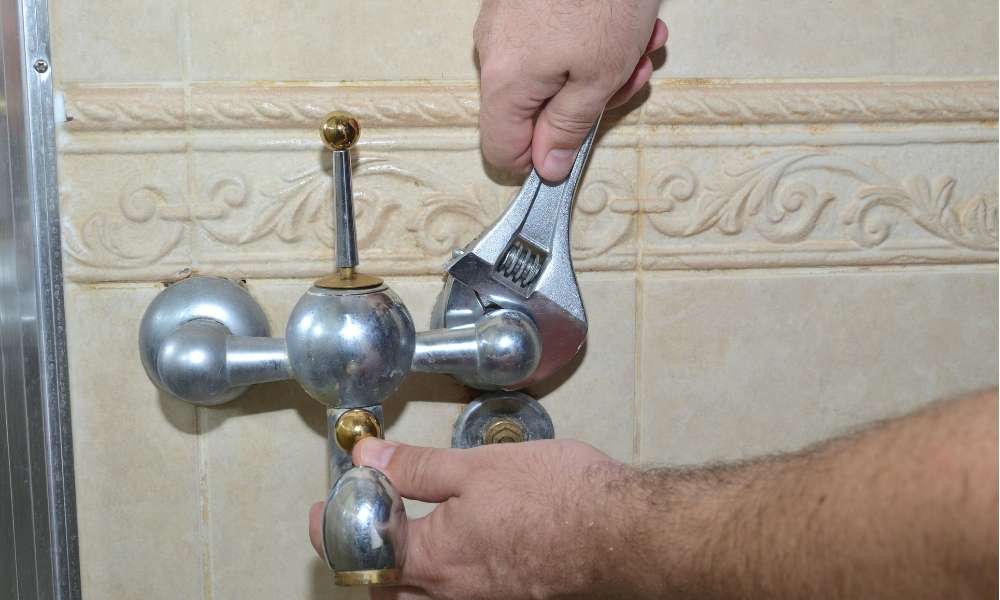
Removing Old Stopper

Remove the old stopper by turning it counter-clockwise with a wrench. Once you have it off, make sure to remove any debris that has built up inside the drainpipe or sink. You can use a bottle brush for this task. The next thing to do is remove the old plumber’s putty or cork from around the drain opening and then clean up any mess from that process.
Next, place the new plumber’s putty or cork around the opening and set your new stopper in place before tightening it down with a wrench. Now you’re ready to test your new stopper out!
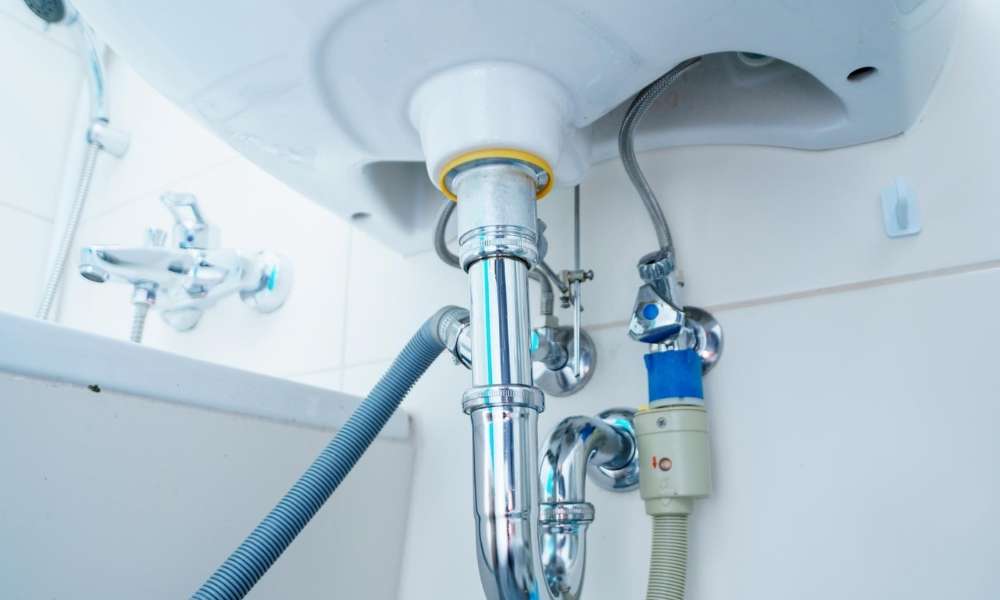
Remove the P-Trap
The first step in removing the old stopper is to remove the p-trap. You can do this by using a wrench or pliers. Carefully loosen the nut that attaches the pipe to the sink and then place the wrench around it. Twist it to loosen and then pull it off with your hands.
To install a new stopper, you’ll need to first remove the old one. To do this, you should unscrew the nut on the underside of the bathroom sink that holds the stopper in place. Once you’ve done this, lift off the stopper and replace it with a new one. To make sure your new stopper stays put, tighten the nut underneath.
Install New P-Trap
If the pipe from the sink to the P-trap is old and has separated from where it was connected to the drainpipe, you may need to install a new p-trap. This will require cutting off the pipe that comes out of your sink. You can use a hacksaw or reciprocating saw.
After cutting off this pipe, attach a short piece of copper tubing to where it was cut off. Then attach a new p-trap to the end of this copper tube (make sure it’s long enough). Finally, go under your sink and screw it onto the drain pipe. Make sure that when you are tightening it down, you don’t over-tighten so that you don’t crush the fiberglass insulation that’s wrapped around this plumbing joint connection.
Clean up

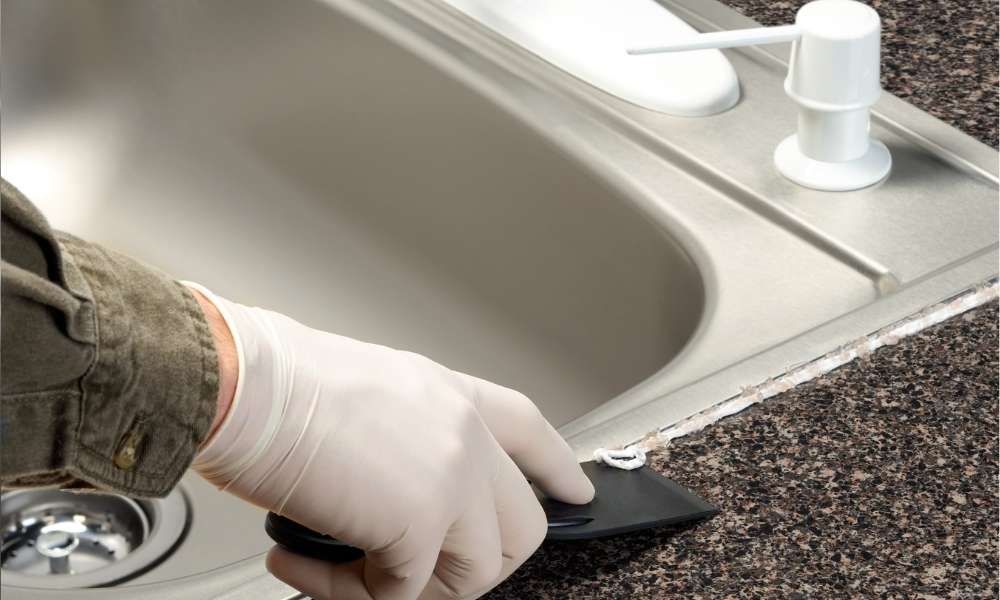
The first step is to clean up the area. You will need to remove any old caulk or sealant that’s on the sink, as well as any hardware that is holding the stopper in place (usually a screw). The next step is to use a putty knife to pop off the overflow plate from the inside of the sink. After you have removed this piece, you can unscrew and remove the old stopper.
The final step is to install the new stopper by reversing these steps. Before reinstalling the overflow plate, make sure it has a rubber gasket and replace any hardware holding it in place. Next, place your new stopper into position and tighten it with a wrench or pliers. Be sure not to over-tighten if you’re using pliers because they can slip off their positions easily while still putting too much torque on them. Finally, seal off all of your work by applying an approved sealant around each seam where two pieces meet together to prevent leaks or moisture build-up.
Removing a Sink Drain
To remove the stopper, you have to locate the rubber gasket inside it. This can be tricky because sometimes it is difficult to see. You will want to use a flashlight or a light some other way if you are having trouble locating it. Once you find the rubber gasket, grab it and pull up on it while simultaneously pushing down on the sink drain stopper. If your sink has a pop-up stopper, then you may need to unscrew the cap before removing the stopper.
Installing the New Drain
The first step to installing a new drain stopper is to turn off the water.
Next, release the tension on the spring that holds the stopper in place.
Grip the stopper and pull it out of the sink.
Once removed, replace it with your new stopper by pushing it up until it clicks into place. Tighten the spring clamp to ensure it’s secure.
Installing the Drain Plug
Before you remove the old stopper, you need to remove the drain plug. The drain plug is typically installed in the center of the sink. If it’s not then you should be able to find it by feeling around the underside of the sink with your hands. Remove the plug and set it aside for later use.
Once the drain plug is removed, there will be a screw (or two) securing the stopper assembly to the sink. Loosen these screws until they are about an inch away from where they attach to the sink.
Next, slide the stopper assembly up and out of its opening and pull it straight off of the sink pipe it was secured to. You may need a bit of force at first, but once you’ve loosened all three screws and slid that stopper assembly off, removing it won’t be as hard.
Conclusion
The average lifespan of a sink stopper is about 10 years. If you are experiencing problems with your stopper, it may be time for a replacement.


