

A kitchen is a place where you spend a lot of time. It is the room where you prepare food, do dishes, and eat your meals. The cabinets are a vital part of this space, so it’s important to keep them clean and well-kept. But if you have white cabinets and they’re looking a little dingy, you may be wondering how to whitewash kitchen cabinets. The process is not difficult, but before getting started there are a few things that need to be done. In these steps, we will talk about how to get your kitchen cabinets ready for painting and then show you the process of preparing them for paint. Now let’s get started!
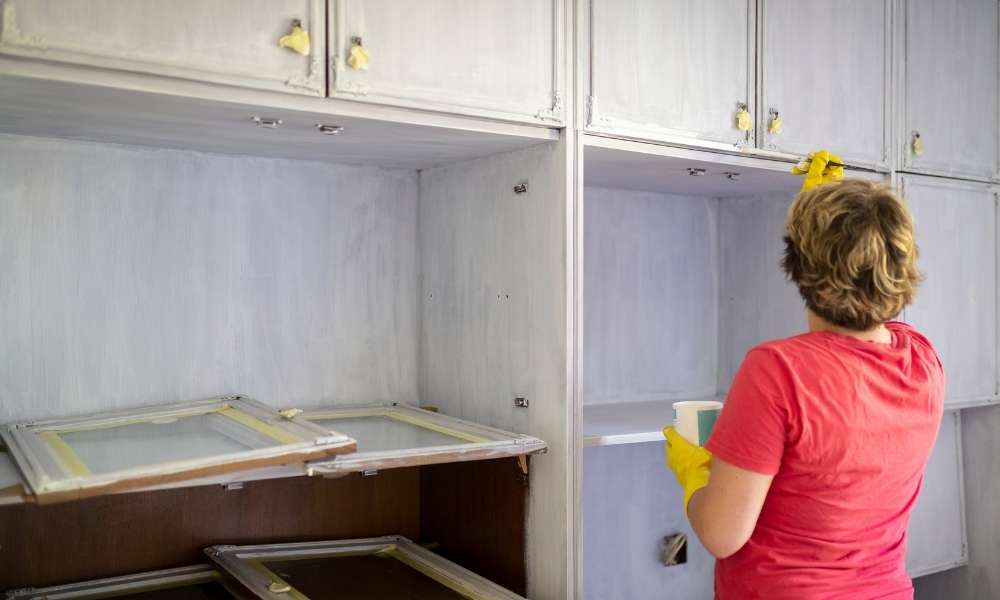
Clean and Remove any Visible Hardware
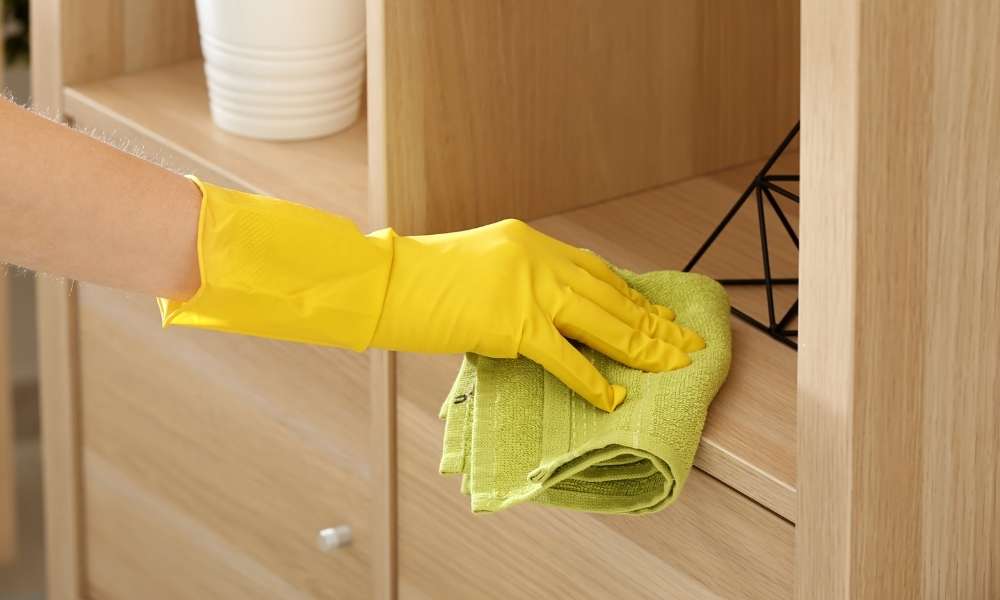
The first step to whitewash kitchen cabinets is to clean them. Clean any dirt, grease, or food that may be stuck on the cabinets with a damp cloth. Use a non-abrasive cleaning product so you don’t scratch your cabinet finish. Make sure to clean all of the visible hardware and remove it from the cabinet doors if it is not already removed from the door panel.
Cleaning the Cabinets After Painting
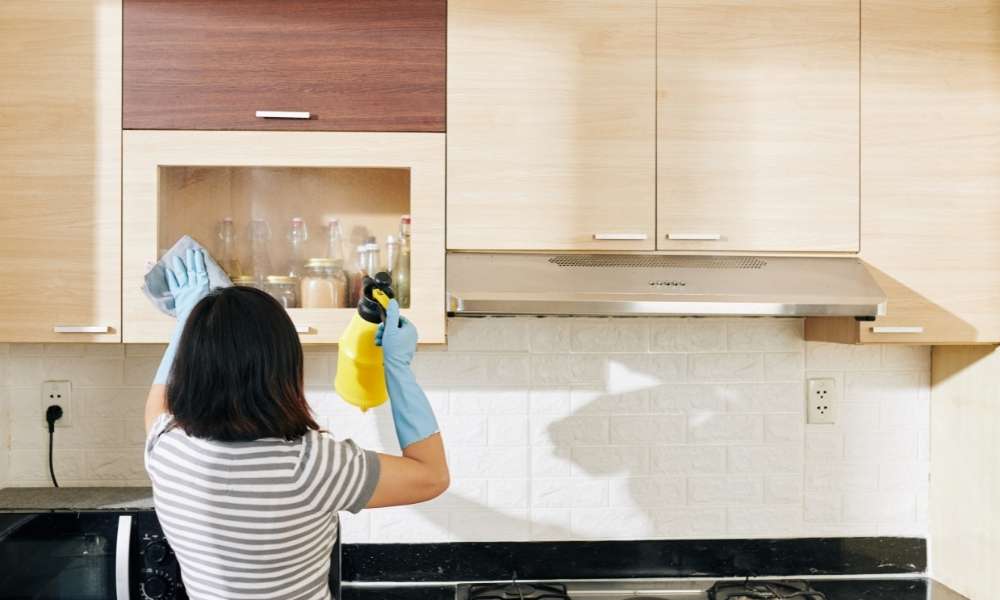
This is an important step to take after painting your kitchen cabinets. It’s best to use a mixture of warm water, dish soap, and baking soda to clean the cabinets. To do this, get a bucket of warm water and add about two tablespoons of dish soap. Then add about one tablespoon of baking soda, mix it up with a sponge, and then start cleaning the cabinets with that mixture. Make sure you scrub the cabinet door frames because they are usually overlooked when doing this kind of cleaning. The last thing is to wipe down all surfaces with a clean cloth and let them dry before moving on to the next step of painting your kitchen cabinets.
Painting your Cabinets

Remove any doors and hardware. Clean the surface well with a strong detergent and water to remove any dirt or dust. If you are using a wood cleaner, allow ample time for it to soak in before wiping down the surface with a wet cloth. This will remove all residue from the wood, making it easier for the primer to adhere to the surface.
Sand down your cabinets. Use 220-grit sandpaper on lightly-worn areas of the cabinet and 400-grit sandpaper on surfaces that are heavily worn. This will provide an even surface for the primer and paint to adhere to later on.
Apply primer to your cabinets. The primer will go over any minor imperfections that may have been left when sanding down your cabinets and create a smooth, even base for painting your cabinets white. Take care when applying this layer so that you get as close as possible to edges and corners where paint can drip off in one area of the cabinet while not covering another area entirely.
Prepping your Kitchen Cabinets
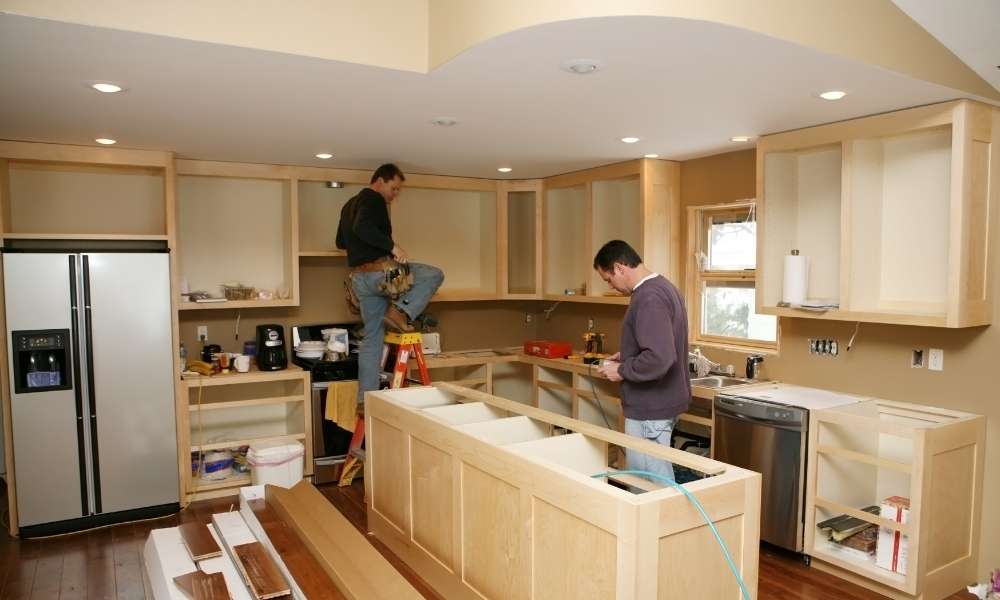
Before you can paint your cabinets, they need to be prepped. The first step is to remove everything from the cabinet. You don’t want any furniture and dishes on the tops of your cabinets, so take them all out. Next, cover the floor with newspaper to protect it from any dust that may get kicked up when painting. Now you’re ready for sanding!
Priming the Cabinets
Before painting the cabinets, it is important to prime them. Priming will help prepare the surface for paint and ensure that it will stick to the cabinet. There are a few different ways you can go about priming your cabinets.
The first way is to use a latex primer (found at any home improvement store). The second way is to get gray paint and mix it with water until you have a consistency similar to milk, then slather it on your cabinets with a paintbrush. To finish off this process, allow the mixture to dry for 24 hours before painting over it with a top coat of paint. The third way is to use oil-based primer (found at any home-improvement store). You would need an airbrush and compressor to apply with an airbrush (available at any craft store) or paintbrush.
See More: Cheap Sectional Sofas Under $500 Buyer’s Guide and Reviews
Steps to get your Cabinets Ready for Painting
Step One: Clean
Before you start painting your cabinets, make sure they are super-clean. You can do this by scrubbing them with a degreaser and then wiping them down with a damp rag. If the cabinets are very dirty, you may want to use a heavy-duty cleaner and some elbow grease to make sure they are as clean as possible.
Step Two: Sand
If your paint job is going to be more than one coat, it’s important that you sand your cabinets before applying any paint. This will give the paint plenty of time to stick and seal the wood for a long-lasting finish. You can do this yourself or contact a professional for help if you’re unsure about how to get started. Once the dust has settled, wipe away any leftover residue with a damp cloth. Step Three: Apply primer
Once you have cleaned and sanded your kitchen cabinets, it’s time to apply primer before painting them! Primer will provide an excellent base for your paint job and keep it looking fresh longer. If you want more information on how to whitewash kitchen cabinets, just follow these steps and enjoy!
The Process of Preparing your Cabinet for Paint

To whitewash kitchen cabinets, first, remove all of the items that are on the surface of the cabinet. You need to do this so you can use a clean surface as your painting area. Next, wipe down the entire cabinet with a cloth, making sure to get into all of the crevices and corners where dirt and grime tend to accumulate. Now it’s time for a little elbow grease. To whitewash kitchen cabinets, simply sand over any areas that have been cleaned and wiped down with fine-grit sandpaper. Make sure to do this for any areas that have nicks or uneven surfaces, as well as any scratches. Once you have finished sanding, apply an even coat of paint to your cabinets by using a paintbrush or roller. Let dry for about four hours before adding another coat if necessary.
How to Paint the top Layer of your Cabinet Doors

Before we can paint the cabinets, the cabinet doors need to be primed. This is necessary to make sure that the paint will stick to them and not fall off of the surface. You can prime it with a brush or spray it on, whichever is more convenient for you. Just be sure to use an oil-based primer to ensure that your top layer of paint will stick.
The next step is painting your cabinets. This is as easy as it seems. Again, this is just like painting any other surface in your home. You’ll want to start with a light coat and then build up until you have a nice opaque color on your cabinet doors. It’s best to use an oil-based primer for the first layer of paint because it sticks better than latex paints do.
Once everything has dried, you can give your cabinets a final sanding before putting on their final coat of paint; this makes sure that there are no visible brush marks or uneven ridges left behind from previous layers of paint. Now it’s time for a final step: applying polyurethane (or varnish). This may seem like an unnecessary step, but it makes sense when you consider that most people don’t want their kitchen cabinets chipping every time they touch them! A good polyurethane (or varnish) will seal in the paint and make these very durable so you won’t have to worry about touching them up anytime soon!
Painting the Inside of your Cabinet Drawers
The first step is to paint the inside of your cabinet drawers. This might sound like a lot of work, but it’s not too bad! To paint the inside of your cabinet drawers, you will need to empty them out and leave them open. Next, you’ll need to sand down the front of the drawer with sandpaper (use a fine grit). After that, use a primer to cover the entire surface area and let it dry. Once it’s dry, use a paintbrush and primer to coat the inside of your cabinet drawers. If you’re worried about how messy this might get, try using an old cloth as your brush (old t-shirts work well). Let your cabinets dry overnight before moving on to another step.
Conclusion
Now you know everything you need to know about whitewashing kitchen cabinets. You can do it yourself and save a ton of money, or you can hire a professional to do it for you. Whichever route you choose, you’ll be left with a beautiful, fresh-looking kitchen that is perfect for your home.


